
Description
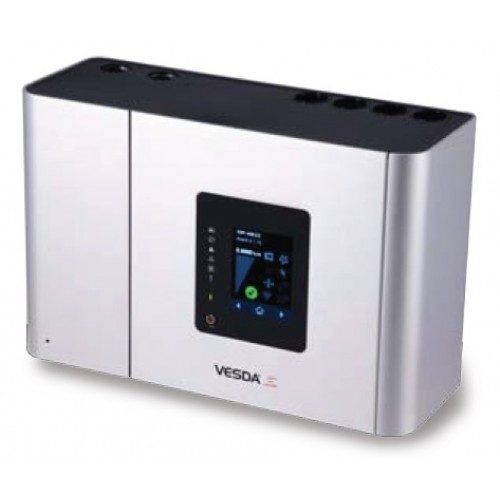
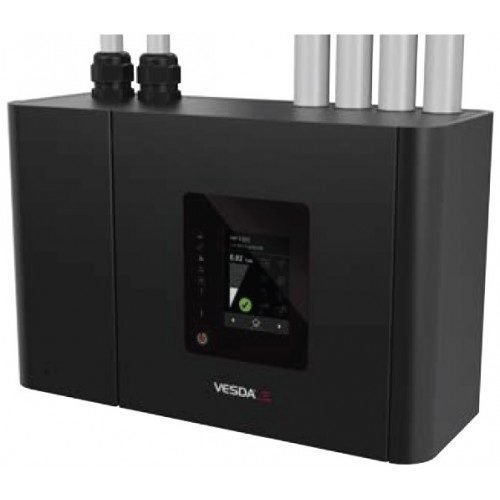
Vesda VSP-501 LaserCOMPACT Aspirator
Aspirators, in VESDA LaserCOMPACT (VLC) detectors are replaced as follows:
Isolate and power down the detector.
Remove the four screws securing the termination card.
Disconnect the aspirator cable loom from the connector on the aspirator.
Gently pull the termination card out, away from the interface card (connected behind). Take care not to dislodge any wires connected to the termination card and leave it suspended by these wires.
Remove the air hose from the aspirator pipe by pulling.
Undo the three Phillips head screws securing the aspirator; these screws are captive.
Turn the aspirator anti-clockwise, using the exhaust port as the pivot point.
Push the aspirator upward to remove it.
Check that the new aspirator has a gasket on the inlet flange and three attached screws.
Wipe the manifold outlet flange surface.
Secure the aspirator with the three screws.
Reconnect the previously removed air hose to the pipe on the aspirator Ensure a tight fit over the pipe.
Reinsert the termination card into the interface card.
Secure the termination card with the four screws.
Connect the aspirator cable connector to the socket on the aspirator? the connector is keyed and can only be inserted one way.
Check that all wires are secured to their connectors or terminals.
Power up the detector and check that the aspirator is running.
Resolve all Fault conditions.
Close the detector.
Reset Isolate to normal conditions and check that the airflow % has returned to the level it was at before Disassembly.